Indoor In-Person Events
An accessible event means that everyone can come, take part, and benefit. You can take certain steps before, during, and after an event to make the event more accessible. There are many resources that can help you do so. These steps may also make the event more enjoyable and safer for all attendees, and easier for you to organize.
Overview
Section titled “Overview”People with disabilities attend events for the same reasons as anyone else. If an event is not accessible, it is harder for people with disabilities to attend. Accessibility problems can also make events less safe for people with disabilities. In some cases, an access barrier may prevent a person with a disability from attending at all.
Practical steps can help you plan an accessible event. These steps include:
- planning the event in advance
- asking attendees for what they need
- making sure your space is accessible
- providing human help
You can also help attendees find ways to get to and from the event, navigate the space, and plan for their specific needs. Each event is unique, so you may need to do different things to plan and host an accessible event. Many resources can help you plan an accessible event.
There are three key stages to planning an accessible in-person event:
- Certain steps before the event ensure that:
- Organizers and staff know who is coming
- the event happens in an accessible, safe, and suitable space
- various accessibility needs are met
- attendees have the information they need before coming, in an accessible format
- specific people are responsible for ensuring the event is accessible
- Some tasks occur during the event, including:
- ensuring inclusive participation
- providing supports or accommodations
- maintaining a safe event
- maintaining a fully accessible event
- Doing some things after the event can help you:
- know what to keep doing for the next event
- ways to improve for the next event
Many of these tasks align with other work you will do to plan and execute an event.
Who Is Helped
Section titled “Who Is Helped”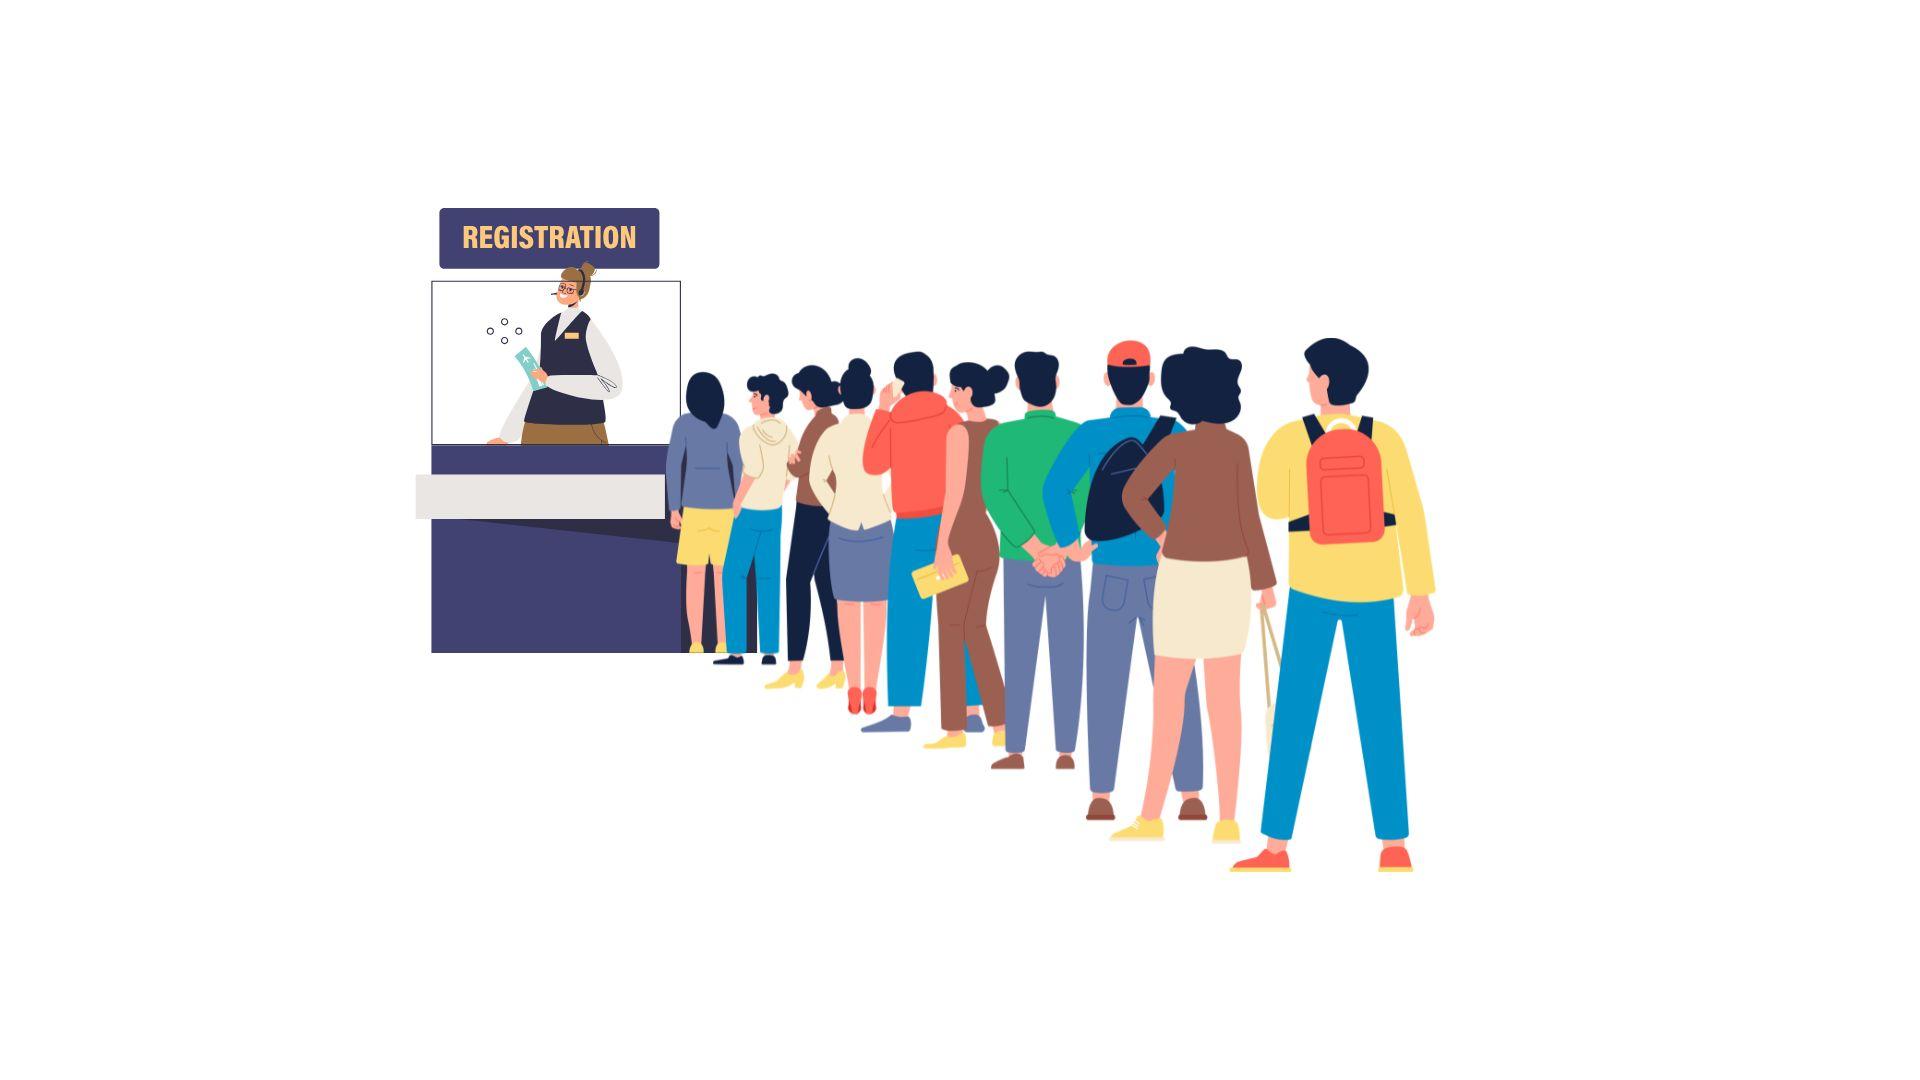
An accessible event allows everyone to benefit. At an accessible event, people with disabilities can safely come and go, take part, and do what they want or need to do. Also, accessible events often benefit people with disabilities in specific ways. Here are a few examples:
- Accessible event spaces help blind and low-vision people stay safe by avoiding trip hazards.
- Accessible spaces also help people with mobility disabilities join their peers at different parts of the event.
- At an accessible event, people with cognitive disabilities are more able to navigate a space. They also find it easier to avoid sensory overload.
- When accessibility information is available in advance, people with disabilities can ask for what they need. For example, Deaf people can request sign language interpreters.
Accessible events also benefit people without disabilities. For example, step-free access prevents falls for everyone.
Guidelines
Section titled “Guidelines”These guidelines will help you plan and run an in-person event. They include things you should do before, during, and after an event. Different points cover aspects of your plans, your space, and communicating with attendees. Best practices cover more things you can do to make your event accessible.
These guidelines cover events that are only in-person. Read Hybrid Events (Ta11y) for specific information on events that have both in-person and virtual parts.
These guidelines come from common norms that government agencies follow. Most countries’ laws do not cite specific standards for event accessibility. You can learn more about laws from Standards and Laws (Ta11y).
Before the Event: Planning
Section titled “Before the Event: Planning”- Choose a date and location for the event before planning anything else. This will help you figure out what else you need to do, and seek support services as needed.
- If requested, arrange for sign language interpreters, captioners, or other support services in advance of the event. Most providers need 5 business days notice.
- Create signage for your event. Signs should help attendees navigate the event and find key locations such as registration, sessions, and restrooms. These signs should be large print and use high-contrast colors. Learn more in Signs (Ta11y).
- Schedule breaks if the event is longer than one hour.
- Set aside a budget for accommodations.
- If possible, review any accessibility laws that apply in your local area. Different organizations often have varying legal obligations for which accommodations they must provide. Learn more from Standards and Laws (Ta11y).
- In many countries, these laws do not apply to religious organizations such as churches or mosques.
- In most places, you are not obligated to provide an accommodation that would place a significant financial hardship on your organization, or would change the very nature of the event. However, this rule varies significantly. You can indicate that you will do the best to provide any possible accommodations in the statement, but you may face legal consequences if you say that specific accommodations cannot be provided. Learn more from ** Standards and Laws (Ta11y).**
Before the Event: Space
Section titled “Before the Event: Space”-
Choose an accessible location. You can learn more about physical accessibility in the Physical Accessibility section of this site. Key features of an accessible site include:
- Barrier-free entrances, restrooms, emergency exits, and routes throughout the site
- You can learn more from Indoor Accessible Routes (Ta11y) and Accessible Public Restrooms (Ta11y)
- Doorways that are at least 1 meter/36 inches wide, with doors that have automatic openers, lever handles, or pull handles that do not require twisting.
- Automatic openers are the best option for most people
- Accessible parking or public transportation options
- You can learn more from Parking (Ta11y)
- Accessible signage and other wayfinding through the building
- You can learn more from Signs (Ta11y)
- If you add specific signage for your event, ensure it is accessible too.
- If you are able, check the Braille signage for accuracy.
- Stable, non-slippery surfaces that are hard and consistent.
- Options for seating with space for wheelchairs and other mobility aids
- A lift or elevator, if the venue has more than one floor. Learn more from Elevators and Platform Lifts (Ta11y).
- Staircases with railings
- Electrical outlets that are easy to reach, between 38 and 120 cm/15 and 48 inches above the floor
- Ramps with railings are provided or available for any raised areas such as stages
- For indoor events, climate controls such as air conditioning or heating that allow for a room temperature between 22-24C/72-75F.
You can learn more from the checklists in the resources. Be sure to familiarize yourself with the accessibility features of your venue.
- Barrier-free entrances, restrooms, emergency exits, and routes throughout the site
-
Remove trip hazards and obstacles from routes of travel. Trip hazards are any objects or changes in level more than 6 millimeters or 1/4 inch high.
- Tape down any wires or other cords connecting equipment.
- Mark any changes in floor greater than 6 millimeters/ ¼ inch, if they are not marked already. These include slight steps. Use tactile tape if possible.
- Remove protruding objects from hallways or other narrow areas that impede movement.
-
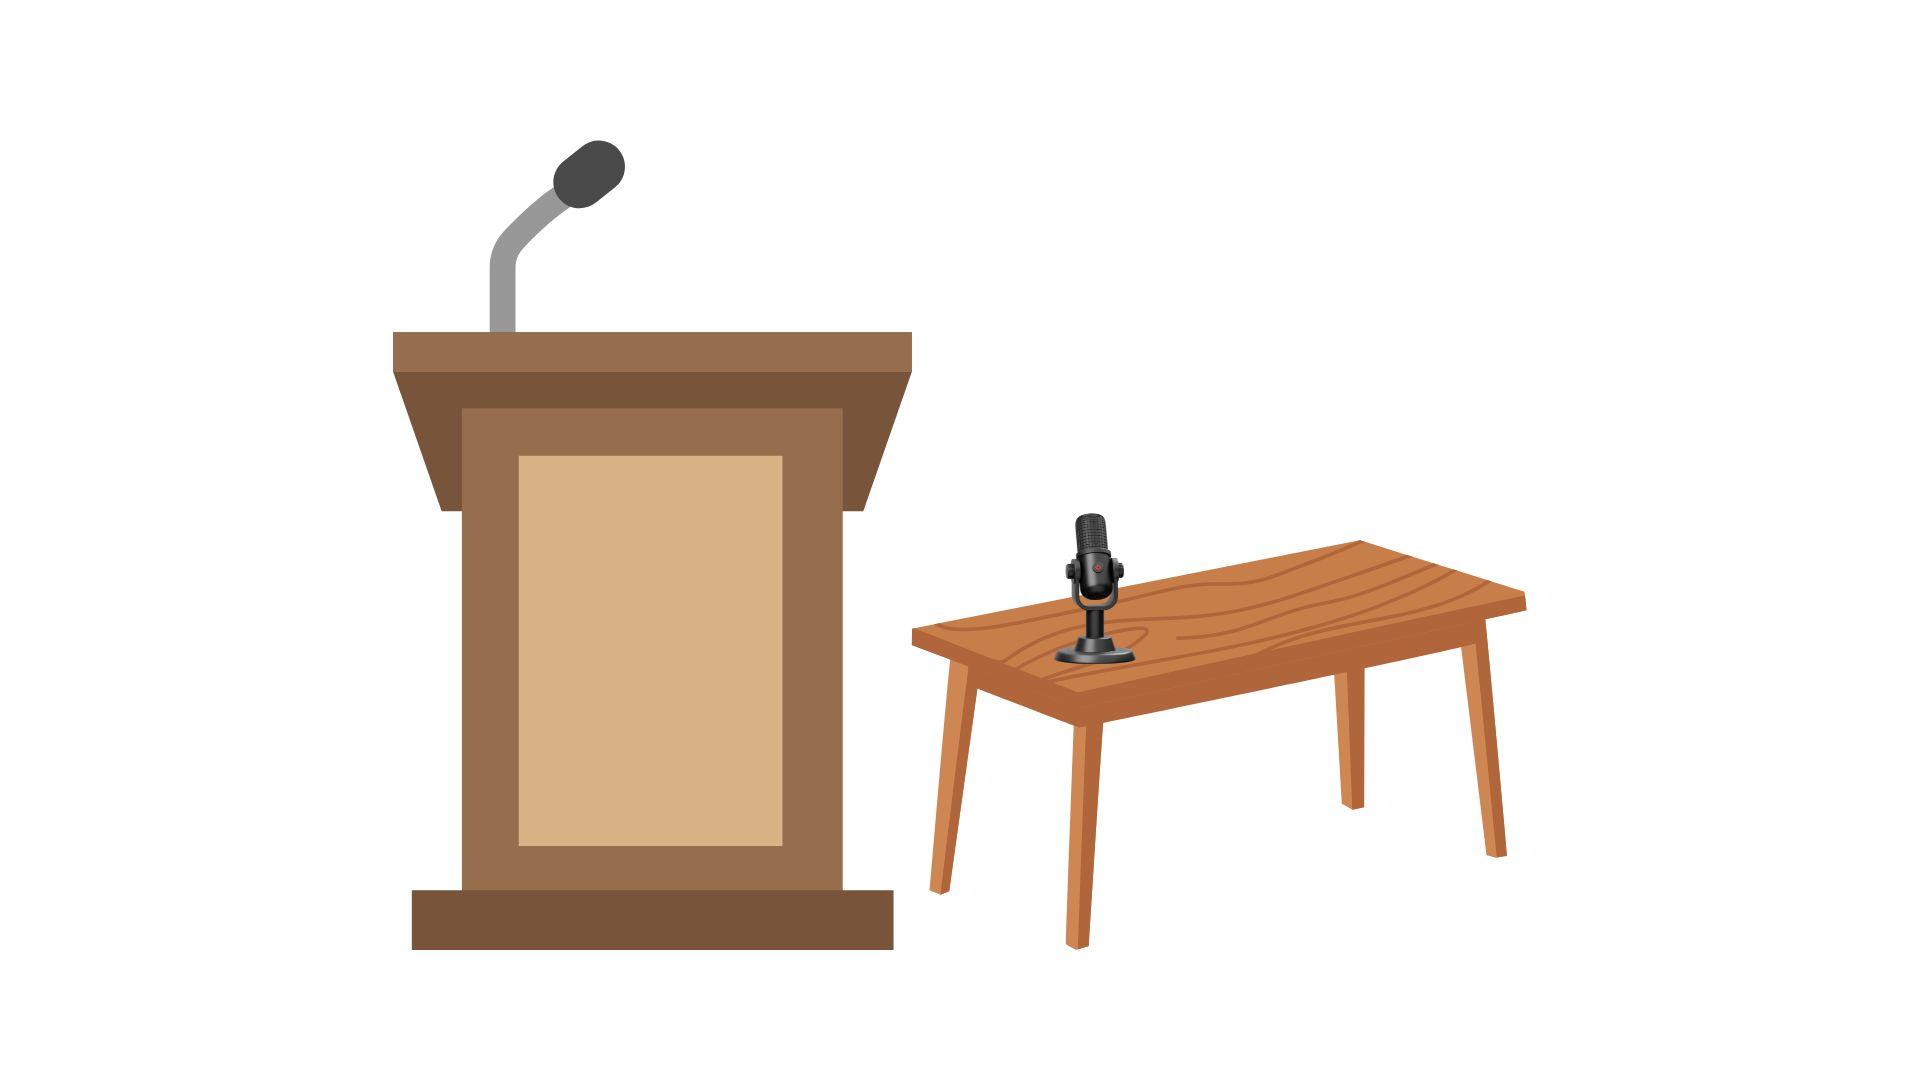
For events that involve speaking or presentations, set up a microphone and speaker system. Many venues will provide these systems free of charge.
- In certain cases, people with disabilities may need certain equipment. Common needs include lavalier microphones (worn on clothing), microphone stands, podiums, standing stools, and seating for speakers. Work with your speakers to determine what is needed.
- Deaf presenters may request sign language interpreting or captioning be available to them. You may need to provide a sign language interpreter in the speaking area, or a screen to view captioning. Learn more from Sign Language (Ta11y) or Captions (Ta11y).
Before the Event: Communicating with Attendees
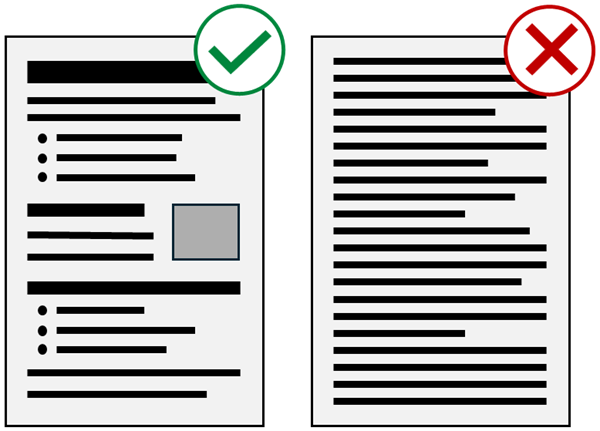
Section titled “Before the Event: Communicating with Attendees”- Ensure all registration forms, marketing material, emails, and any other communications with attendees are accessible.
- Learn more from Writing Accessible Content (Ta11y).
- Provide a way for attendees to request accommodations or support, or ask questions about their needs. This can be through a registration form or other form, or by email or phone to a central person.
- Be sure your form is accessible. Learn more from Forms (Ta11y).
- If you have a form, include a field to ask for accommodations.
- If you are serving food, be sure to ask about allergies. Learn more from Introduction to Dietary and Digestive Disabilities (Ta11y).
- Set a deadline for requesting accommodations. The standard timeline in the United States and Canada is five business days before an event. If you need more time, you can set an earlier deadline.
- Send a calendar invite or other confirmation of attendance to attendees. Include the date, time, location, contact person, and how to request accommodations.
- Include this information in any reminders you send as well.
- Include an accommodations statement for any event webpage. You can consult sample accommodation statements that are provided in the Resources.
- Include information about the venue’s accessibility for any event webpage.
- If available, you can link to an accessibility page provided by the venue.
- Provide a clear agenda for any event activities so attendees can plan their time.
- Send accessible versions of presentations or other event materials to attendees ahead of time, if possible.
Before the Event: Best Practices
Section titled “Before the Event: Best Practices”- If the event is outdoors, provide an accessible covered or indoor area.
- If the event is indoors, provide an accessible outdoor area. Many venues have outdoor areas designed for dining or interaction.
- Send any speakers information about accessible presentations as soon as possible.
- Look for reviews that discuss the accessibility of a venue.
- Choose a location accessible by public transit.
- Include information about parking and transit options in confirmation emails and calendar invites.
- Choose one person to be responsible for access needs and meeting attendees’ requests.
- Choose one person to oversee the technical aspects of the event.
- Provide slide decks, scripts, or other materials in advance for attendees. Be sure that these materials are accessible.
- Let attendees know any expectations for attending, such as a dress code or items to bring.
- Use a plain background for presentation or speaker backdrops, to reduce distractions.
- Conduct a test run of the event to identify issues, including any accessibility issues.
- Provide any materials for attendees to interpreters and captioners in advance.
- Provide information on emergency evacuation procedures for the venue, if available.
- Consult Introduction to Emergency Planning (Ta11y) to learn more.
- Allow speakers and attendees to visit the space in advance, if possible.
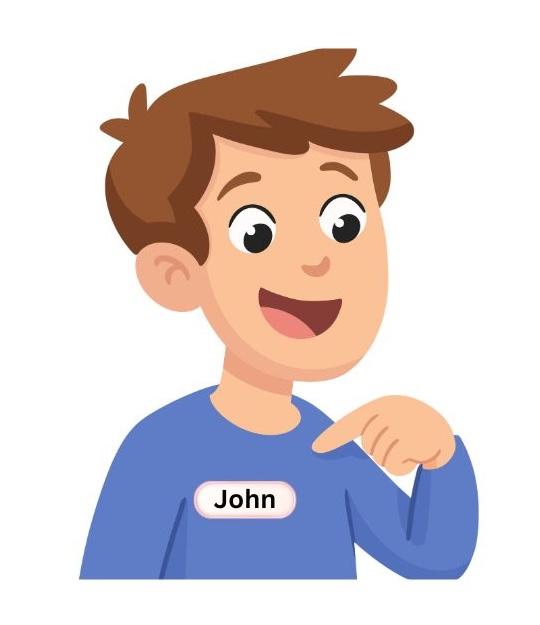
- Print name tags for organizers, staff, speakers, and/or attendees to wear on the day of the event. Create Braille tags if requested.
- Secure quiet rooms or spaces for people who may find the event’s noise level or activities overstimulating.
- Let attendees know that they are welcome to wear masks if they choose to do so, and allowed under local law.
- Let attendees know in advance if they are expected to wear masks at the event.
- Note that some people with disabilities cannot wear masks.

During the Event: Space
Section titled “During the Event: Space”- Tell attendees how to find emergency exits, first aid, restrooms, staff, and if applicable, food and drink. Note which exits or restrooms are accessible.
- Provide signs indicating where these things are, if signage is not already available. Consult Signs (Ta11y) to learn more about accessible signage.
- Keep anywhere where people will move clear of any obstacles or trip hazards. These are often called “paths of travel.”
- A path of travel should be at least 1 meter/3 feet wide. Best practice is to ensure that paths of travel are at least 1.5 meters/5 feet wide.
- If you have wires connecting equipment, tape them down.
- Trash cans and other waste disposal should not block the area.
- Provide seating, if the event is “standing.”
- If possible, provide chairs or benches with backs.
- Provide an area to stand, if the event is “seated.”
- If the event is seated, reserve a clear area for people who use mobility devices, or use seats that you can move easily. This area should be adjacent to other seating.
- If you provide tables, make sure that the tables at a variety of heights. Do not only provide high top tables.
- Tables that are accessible for people who use wheelchairs are between 70cm/28in and 86cm/34in in height.
- Use wheelchair-accessible tables for exhibits at conferences, registration tables, and similar uses.
- Ask attendees to not wear fragrances or scents such as perfumes or colognes when attending the event. (This policy is often called a “fragrance free policy.”)
- Prohibit attendees from smoking, vaping, or chewing tobacco or marijuana, even if the venue otherwise permits this.
- Prohibit flash photography if possible.
- If flash photography is needed, tell attendees in advance.
- Avoid using flashing lights.
- If flashing lights are needed, tell attendees in advance.
- Ensure that lights do not flicker.
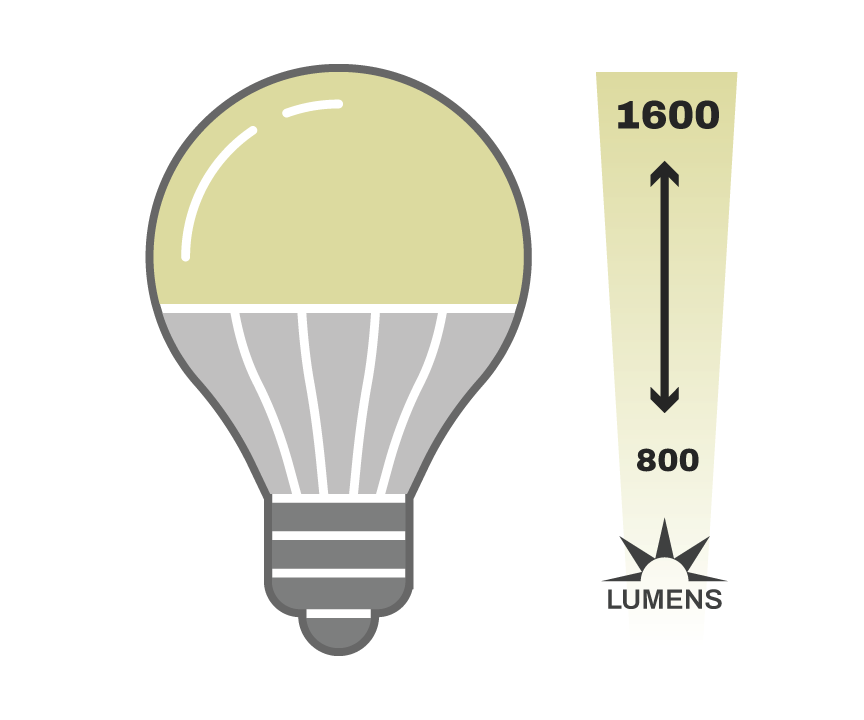
- Maintain clear lighting whenever possible. A standard setting is between 800 and 1600 lumens, which you can find on a lightbulb.
- If a dark area is needed, tell attendees in advance.
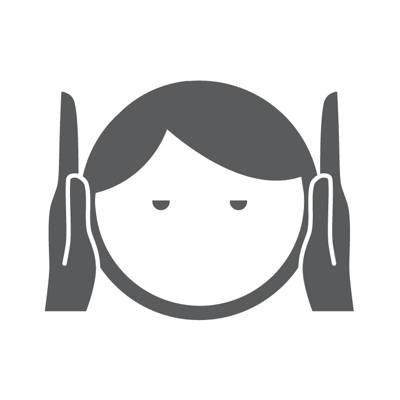
- Keep noise levels below 70 decibels, and ambient noise levels below 50 decibels.
- Normal conversation is usually between 60 and 70 decibels. Outdoor rainfall is usually at 50 decibels.
- If you expect a lot of ambient noise or loud conversations, tell attendees in advance.
- Keep the room temperature between 22-24°C (72-75°F). You may need to adjust the air conditioning or heating to do so.
- Tell attendees in advance if the room may be colder or warmer than this temperature.
- Tell attendees in advance if the room is air-conditioned or heated.
- Provide quiet rooms or spaces for people who may find the event’s noise level or activities overstimulating.
- Provide or find a relief area for service animals.
- If needed, make sure attendees do not consume known allergens in the event space. This need is common for people with peanut or tree nut allergies.
- Ensure that some electrical outlets are available for attendees to use. This is important for people who use electronic equipment for their access needs.
During the Event: Communicating with Attendees
Section titled “During the Event: Communicating with Attendees”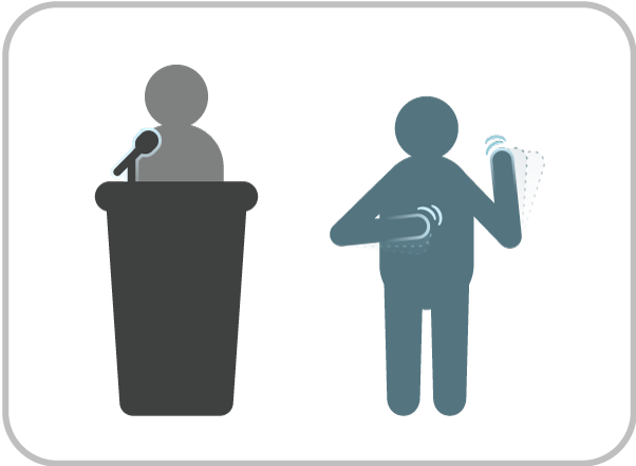
- Speak to attendees, rather than interpreters or support staff.
- Do not ask attendees to tell you or to talk about their disabilities. However, attendees should feel welcome to do so if they choose.
- When needed, reserve seating for anyone who has requested sign language interpreting or captioning. Position the interpreter and/or caption displays to face these seats directly. When possible, position this seating at the front of the room.
- All presenters and participating attendees should speak into a microphone when one is available.
- All presenters should describe, in words, any visual information used in a lecture or presentation.
- Examples include pictures and demonstration.
- Read aloud text on slides.
- Do not use any flashing objects, moving objects, or animations during slide shows. This includes videos that contain these effects.
- When these effects are necessary, warn attendees first.
- Learn more from Motion and Animation (Ta11y) and Flashing Content (Ta11y).
- In an event with audience participation, use a process for people to ask questions or speak. For example, ask attendees to raise their hands.
- Where possible, offer two ways to ask a question - for example, through writing or by raising a hand.
- Repeat any questions or comments made by audience members.
- If you are hosting a performance or other interactive session, you may need an audio describer. You can have a describer present on-site or present virtually. Learn more from Audio Description (Ta11y).
During the Event: Best Practices
Section titled “During the Event: Best Practices”- Allow attendees to wear masks if they choose to do so, and if permitted by local law.
- Provide a “quiet space” or set-aside area with low sensory input for attendees to take a break. This space should be dark and have minimal noise. This area should be only for this purpose and advertised to attendees. You can learn more from links in the References section.
- Make sure someone or a team are ready to provide help for attendees at any point.
- Introduce yourself to anyone who asks, even if you are wearing a nametag.
- Offer lavalier (worn) microphones to speakers if available.
- Assign a person to bring a microphone between speakers, if needed.
- Tell attendees before any changes in lighting levels.
- Tell attendees before any changes in noise levels.
- Consider distributing earplugs for loud events.
- Record and distribute lectures, presentations, or shows for review by attendees at a later time, if you are allowed to do so. (Your organization or local law may not allow this.)
- Ensure all recordings are fully accessible, including captions, transcripts, and audio descriptions, as needed.
- For large events with lines to enter or register, provide a “fast track” line specifically for attendees with disabilities or other access needs.
- For large events with lines to enter or register, provide seating areas in the queue area.
After the Event
Section titled “After the Event”- Make sure any follow-up resources you provide to attendees are accessible. Examples include surveys, giveaways, brochures, or other tools. You can learn more about creating these materials from Common Concerns in Document Accessibility (Ta11y).
- Make sure attendees know who to contact to provide feedback or ask questions. Some attendees may only report accessibility issues after the event itself.
- If the event included a presentation or other show, provide an accessible copy or recording to attendees.
- Your organization or local law may prohibit you from distributing certain materials or recording certain events.
- Ensure all recordings are fully accessible, including captions, transcripts, and audio descriptions, as needed.
- Ask attendees for their feedback, including on event accessibility. You can create a survey, or just send an email with contact information. Note any issues that attendees mention, so you can address them for the next event.
- Meet with your fellow organizers to discuss lessons learned for future events.
References
Section titled “References”- A Planning Guide for Accessible Conferences, Council of Ontario Universities/Accessible Campus (PDF)
- A Planning Guide for Making Temporary Events Accessible to People with Disabilities, ADA National Network
- Accessible Meetings, Events & Conferences Guide, ADA Mid-Atlantic
- Event Planning Accessibility Checklist, University of Southern California (PDF)
- How to Create a Sensory-Friendly Event, Sensory Friendly Solutions
- Making Events Accessible Checklist, W3C
- Planning Accessible Meetings and Conferences, University of Maine (PDF)
- Planning an Accessible Meeting or Event Checklist, Employer Assistance and Resource Network on Disability (EARN)
- SIGAccess Accessible Conference Guide, SIG Access